1What you need
- 3 clip connectors
- adjustable resistor (potentiometer)
2Challenge
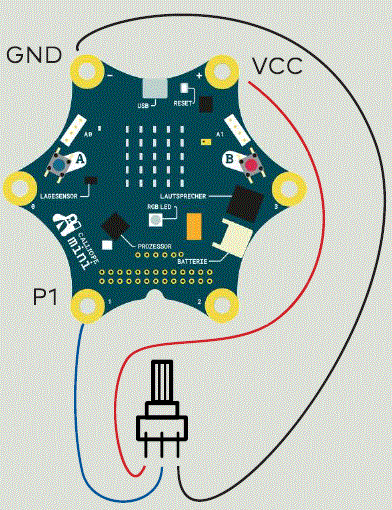
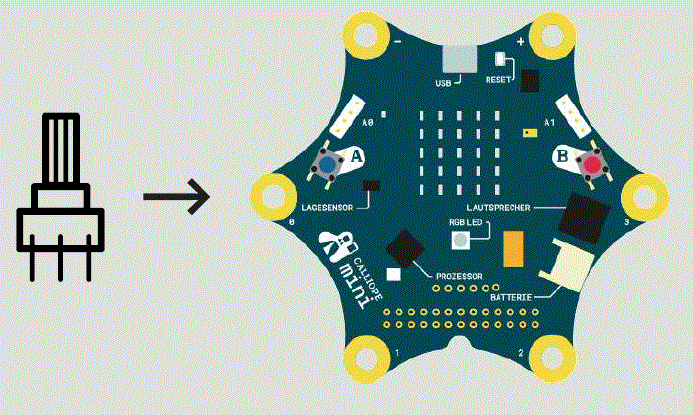
Clamp an adjustable resistor (potentiometer) to the Calliope mini. Turn the potentiometer to different positions and show its numerical value on the LED display.
3Solution
Code

Note: The string "*" in front of "show number" helps to recognize the number better on the LED display (beginning of the scrolling text).
Potentiometer
middle leg: analog input (P1)
Outer leg: GND (-)
Outer leg: VCC (+)

This text as well as the image is published under a CC BY-SA 4.0 DE license popup: yes. It was originally published in German popup: yes by phzh popup: yes and translated into English by the Calliope team.


