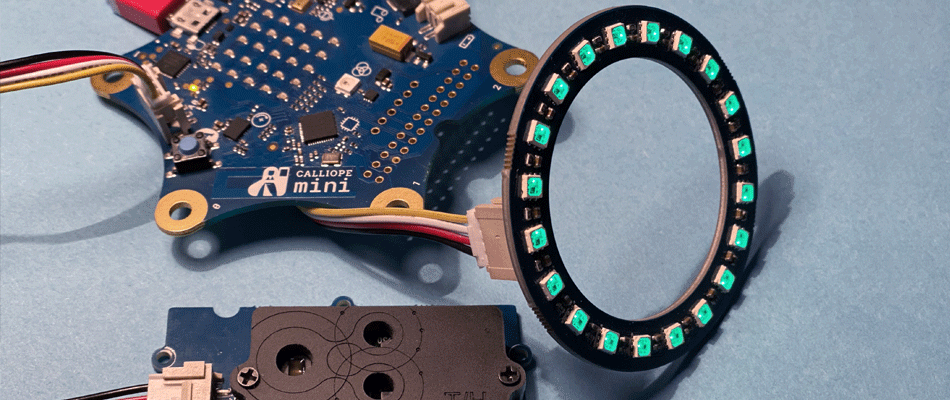
In order to program the CO2 sensor, a library is required which provides the sensor data. The CO2 sensor package can be added to the block library.
Import package
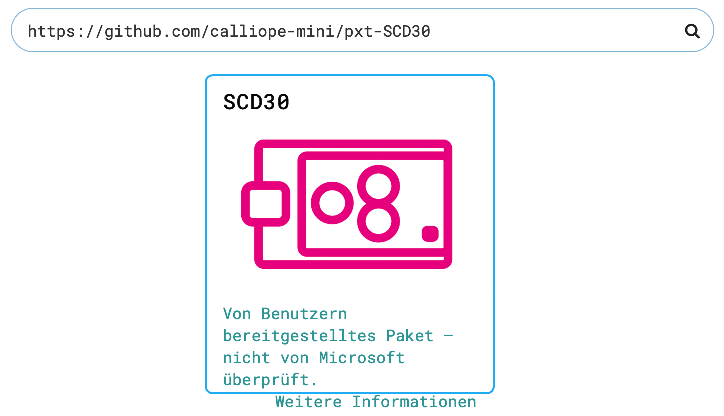
In the block library under "Advanced" select the item "Extensions".
Download the sensor package with the following link: http://github.com/calliope-mini/pxt-SCD30
The "SCD30" block appears in the block library.
Now press the "Extensions" item again and select the "neopixel" package.
The two packages extend the block library by two areas, one "SCD30" and one "neopixel".
In the "neopixel" block there is the item "Set Strip to Neopixel...", this is needed to initialize the RGB LED.
So this block is dragged into the "at start" block. In this example we use a Grove neopixel ring. This ring is addressed via pin 16. Depending on the neopixel type, the colour sequence must be defined in this block .
The brightness is still to be defined here (in our case we took a value of 10, so that the LEDs don't shine so brightly) and the LEDs should light up white shortly at start.
Afterwards there is a short break and then all LEDs are drawn green by a loop, this should signal that the CO2-light is ready for measuring. By the way, the 500ms pause in the loop ensures that the RGB LEDs are set to green one after the other.
We now create the input event "When button A+B are pressed" from the "Input" section to calibrate the sensor. This is not absolutely necessary, but it is worthwhile to adjust the sensor to very good conditions outside in the fresh air. From the identical area we take again two blocks, in each case "When button A is pressed" and set this event once over the small arrow on the button "B". To see the current value of the CO2 sensor on the LED display, we now need an output. For this purpose the block "show number 0" from the "basics" category is used twice and placed in both block events.
In the category "SCD30" the block "CO2 value" can be found. This indicates the measured parts in relation to one million parts. To see this value, the block is inserted instead of the "0" in the "show number" block with the button "A". The same procedure is now done with the block "temperature". <Depending on the button pressed, either the CO2 value, the temperature or the sensor is calibrated.
Now we come to the actual programme. In the "permanent" loop we create a so-called "Mapping" for the distribution of the sensor values. This is not absolutely necessary, but helps to distribute the sensor values to the 20 RGB LEDs used in the example. This enables a much more complex visual representation of the CO2 values by the RGB LEDs, should this be desired later.
For the mapping we need a variable. This can be created in the block library under "variables" by clicking on "create a variable". The name is freely selectable, in this example "map" is taken at this point. This creates the block "set map to 0", which we insert into the "permanent" loop. Now we insert the map instead of the value of the variable. The map block is located under "Advanced", "Pins" and is the largest block ("distribute 0 from low 0...").
In the variable "distribute 0" we put the CO2 value from the point "SCD30". For the other values we use a distribution of reasonable ranges (300-1200 for the CO2 content). These are distributed to 0-19 for the number of RGB LEDs.
Then we create the function "CO2-RGB" which can be found under the block "Advanced", "Functions" and set the call under the mapping.
In the created function "CO2-RGB" we now set the query, which CO2 range is present and how the RGB LEDs should react to it. In the block library under the item "Logic" you will find a "if...then" block. This is put into the function and the "...and..." is put into the variable area. block, also from the item "Logic". Now two parts can be combined.
A range of values (0-5) is to be defined here. Therefore two further comparison blocks from the area "logic" are necessary, which come in each case into the fields to be connected. In addition there is now the variable "map", which once defines the range "greater/equal 0" and "less/equal 5".
covers. If a value is measured in this range, the RGB LEDs should light green. So that this also happens successively, we set a loop which runs through for each RGB-LED. In the block library under the point "loops" we therefore set the block "for index from 0 to..." in the "if...then" block. The value for the loop is set to 19, so that all 20 RGB-LEDs are coloured.
From the neopixel package in the block library the block "strip set colour of neopixel..." is created. Set into the loop and set the colour to green. The block "show strip" is also set so that the colour is then updated. After that there is a short break. Thus again a short colour effect of the RGB-LEDs is set, because they build up visibly one after the other. Then this is created for the mapping values 5 to greater than 14 for the colours orange and red. A new "if...then" event appears by clicking on the "+" symbol. Finally the block "strip set colour of neopixel..." with the variable "map" as the active pixel is selected to show it as exact measuring point after the animation.
Calliope gGmbH
This project can be used under the CC-BY-SA licence.
https://creativecommons.org/licenses/by-sa/3.0/en/