| port: |
Grove: A0 (C19, C20) |
| interface: | I²C |
| output values |
0-10000 ppm |
| Further information: | https://wiki.seeedstudio.com/Grove-CO2_Temperature_Humidity_Sensor-SCD30/ |
| Order: | https://www.seeedstudio.com/Grove-CO2-Temperature-Humidity-Sensor-SCD30-p-2911.html |
Currently, ventilation is a major issue, but also in general the air in classrooms is often of insufficient quality and so the window should be opened occasionally if the CO2 content in the ambient air exceeds a certain threshold value.
Concrete ventilation plans are currently aimed primarily at reducing the concentration of aerosols in rooms. However, these are invisible and so it is difficult to determine the success of ventilation. A CO2 sensor can provide clarity and, using a CO-2 traffic light, it can even provide direct, visual feedback exactly the way you want it!
With the help of the Calliope mini, a measurement is simple and fast possible, even a complex display, for example, via an RGB LED scale is uncomplicated conceivable.
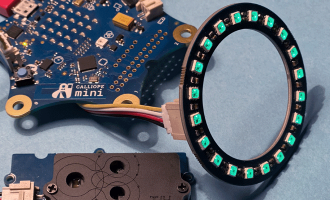
For this measurement we take the SCD30 sensor. This sensor can measure the CO2 content in ppm (parts per million) as well as the temperature and humidity. We output the measured values directly on the LED display.
Currently the SCD30 sensor is only supported by MakeCode, but an Open Roberta Lab integration is planned.
Translated with www.DeepL.com/Translator (free version)
Makecode
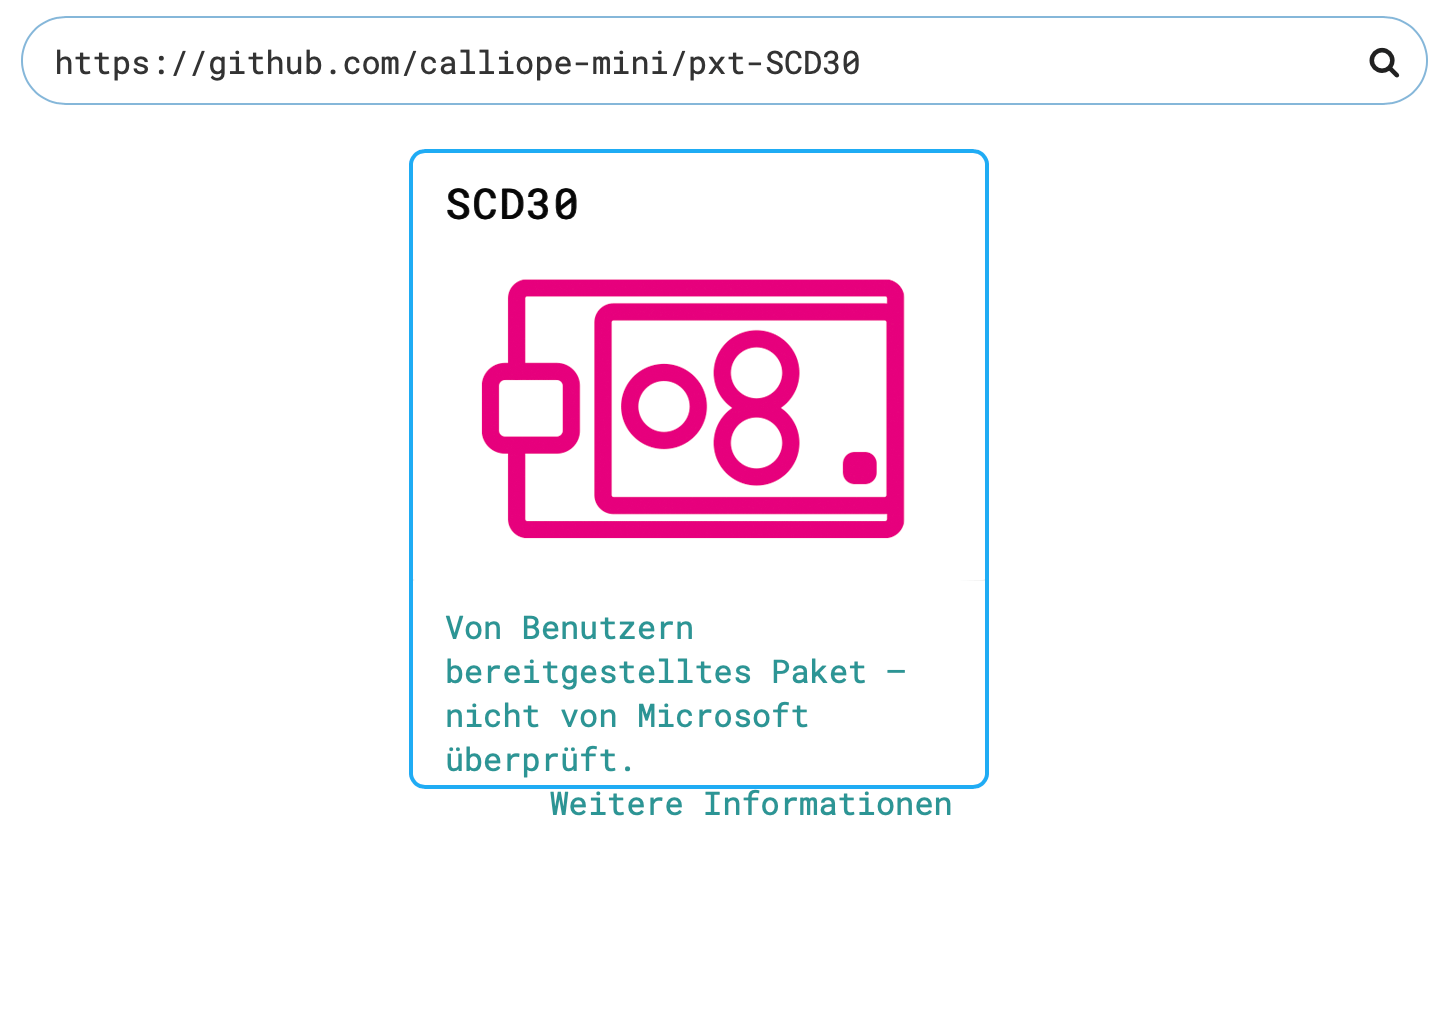
To program the CO2 sensor, a library is required which provides the sensor data. The CO2 sensor package can be added to the block library.
Import sensor package.
- Select "Extensions" under "Advanced" in the block library
- Load sensor package using the following link: github.com/calliope-mini/pxt-SCD30
- The "SCD30" block will appear in the block library.
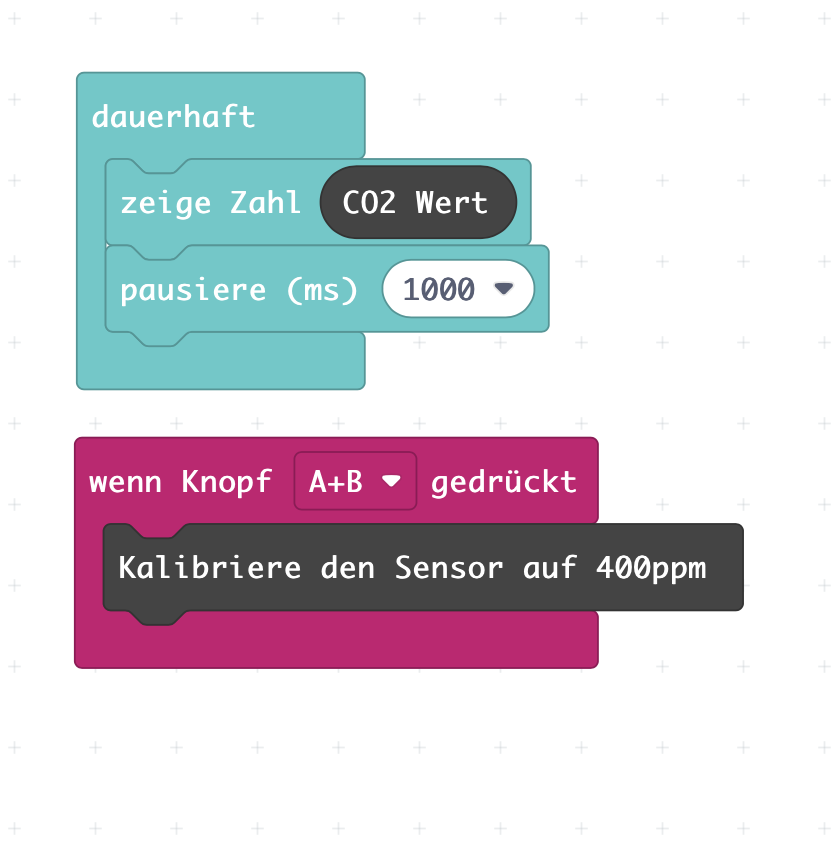
Output of measured values.
To see the current value of the CO2 sensor on the LED display, the first thing needed is an output. For this purpose, the block "show number 0" from the "Basics" category can be used.
In the "SCD30" category the block "CO2 value" can be found. This indicates the measured parts in relation to one million parts. To see this value, the block is inserted in the "show number" block instead of the "0".
Calibrate sensor.
The CO2 sensor can be calibrated with the block "Calibrate the sensor to 400ppm" from the category "SCD30". It is a good idea to perform the calibration in fresh air after the sensor has been operated there for about ten minutes. Here, 400 ppm is defined as the basis, because this corresponds approximately to fresh ambient air.
To ensure that the calibration is only triggered specifically, the input event "When DOWN button pressed" from the "Input" area is useful.
More useful links:
The KMK has created an information page on the subject of ventilation in schools.
The newspaper El Pais has created a good visualization of a possible distribution of aerosols in rooms.
The German Federal Environmental Agency has published here a brochure on indoor air, which also addresses the issue of indoor air quality.
The Umweltcampus also offers many tips and information on the topic.
You can find sensor and actuator projects that have already been realised on the project page.