JACDAC
The Calliope mini 3 is equipped with two Jacdac connectors, allowing diverse modules to be connected and used together. Jacdac also enables direct interaction via WebUSB with a connected computer – for example, connect a buzzer with LED rings and potentiometers.
| Developer/Provider: | Microsoft Research |
| Calliope mini Version: | V3 |
| Editor: | MakeCode |
| Extension: | https://github.com/microsoft/pxt-jacdac |
| Browser: | Requires WebUSB, e.g., Chrome, Chromium, Brave, Edge |

Simple measurement, control, and live data reading
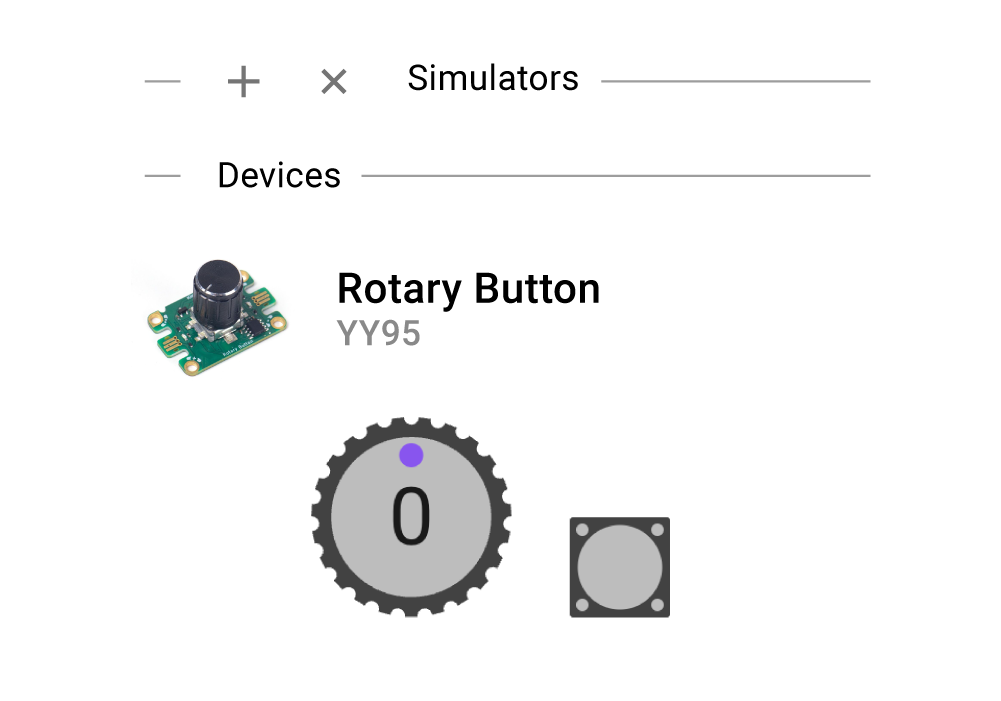
Display and control of modules in real-time.
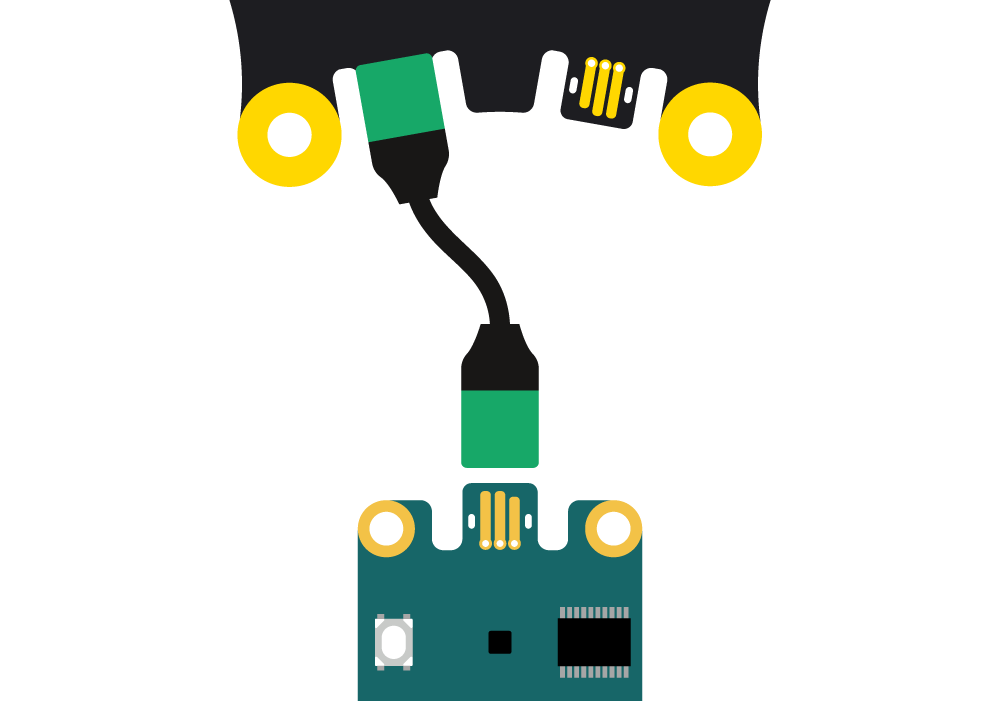
Plug and Play - Simple, intuitive connection of modules.
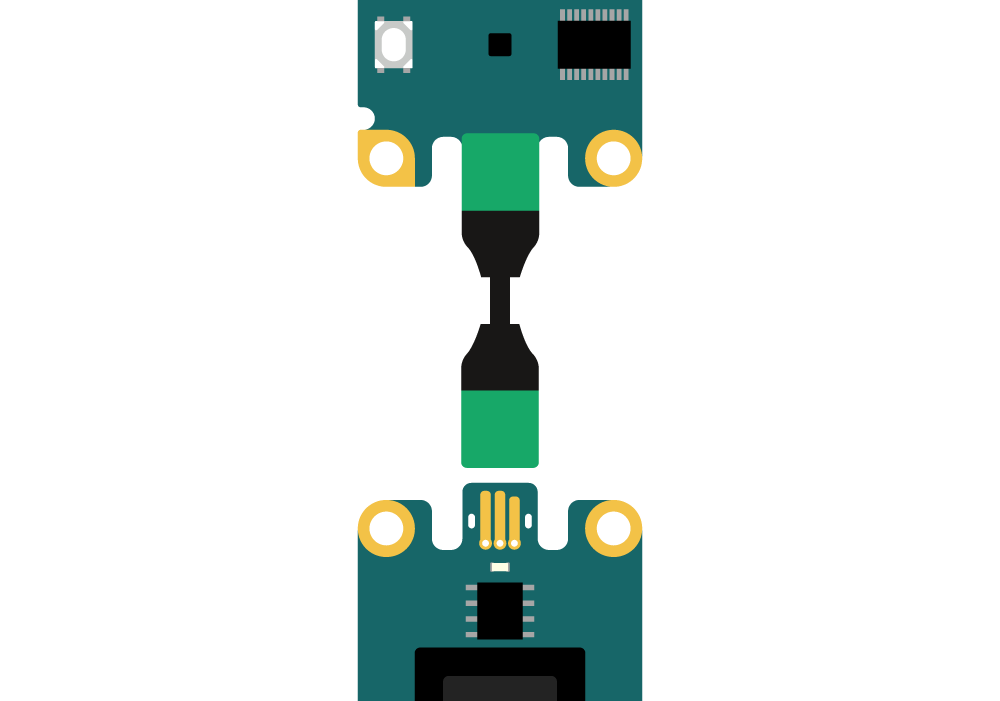
Series and parallel connection of modules possible.
How It Works
Establishing a WebUSB Connection
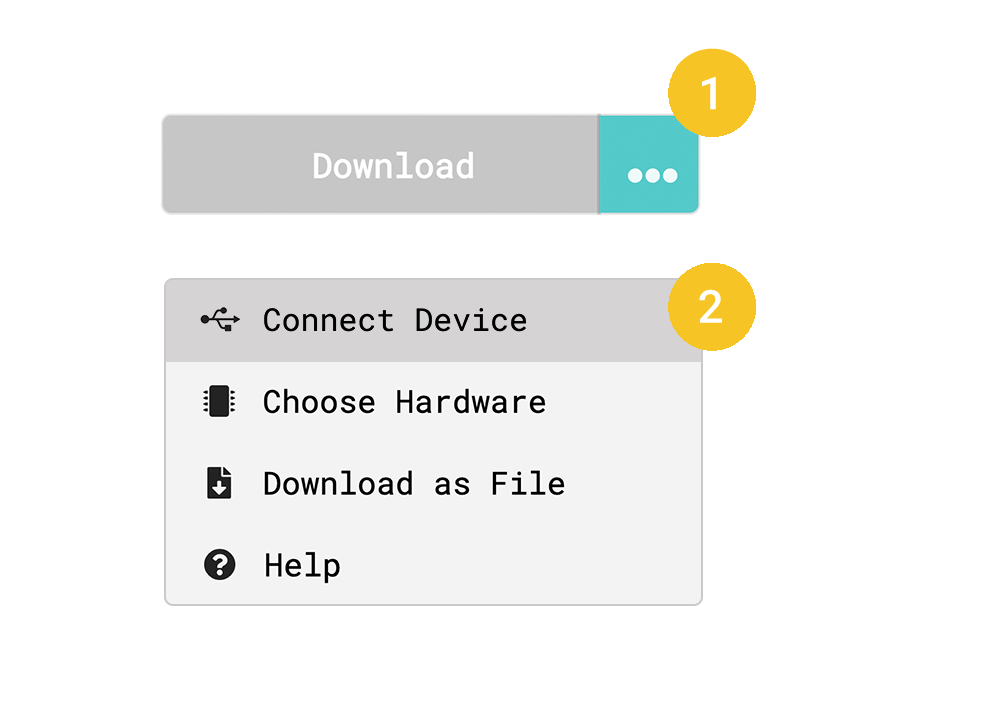
To use modules in real-time, a WebUSB connection must be established between the Calliope mini and the browser.
Adding Programming Blocks
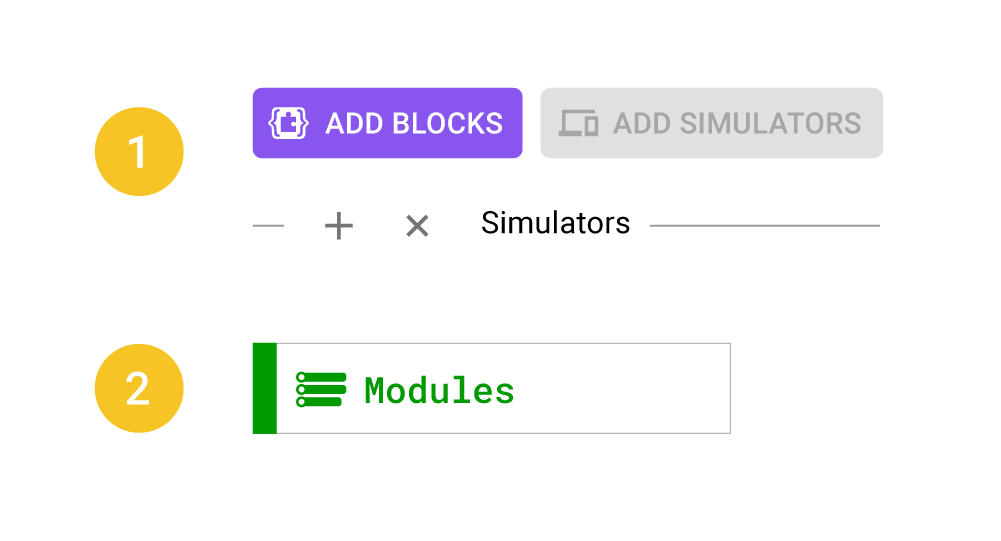
The programming blocks for connected modules are added via the “Add Blocks" button and appear in the Jacdac "Modules" category.
Adding the Extension
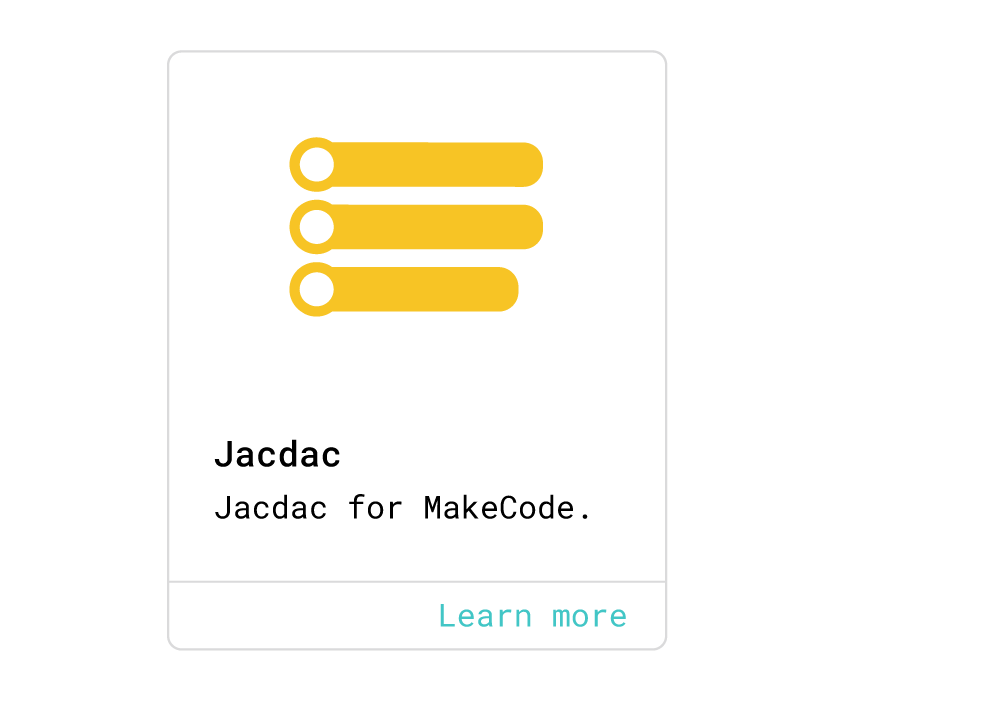
Select and add the Jacdac extension.
Transfer the Program
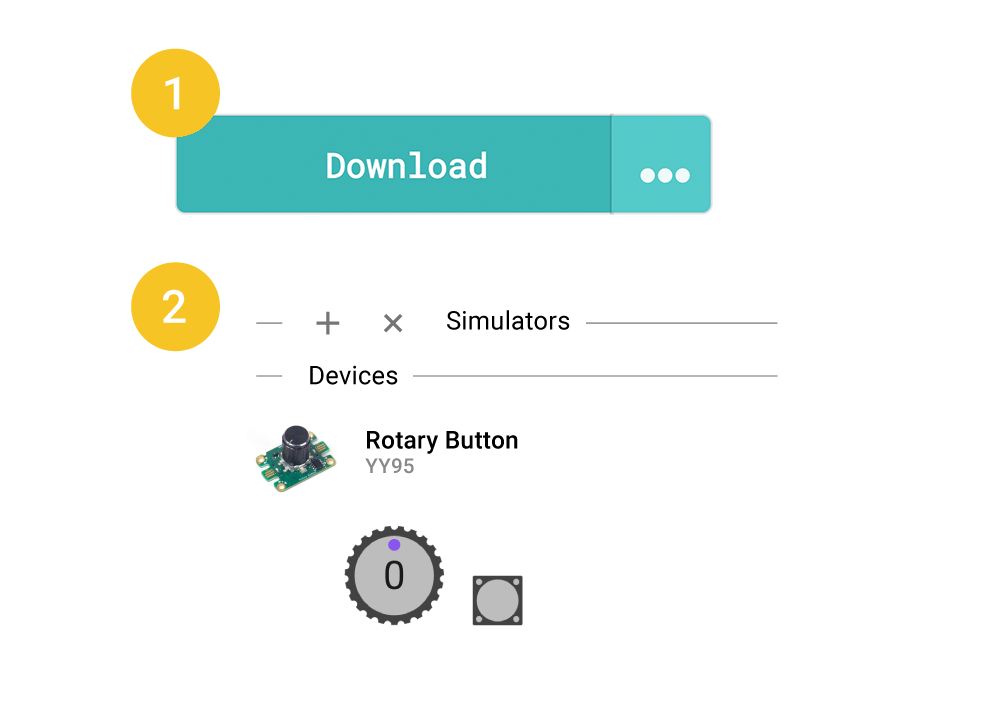
To identify Jacdac modules, the program, including the Jacdac extensions, must be transferred to the Calliope mini once.

Jacdac Extensions Starter Box I
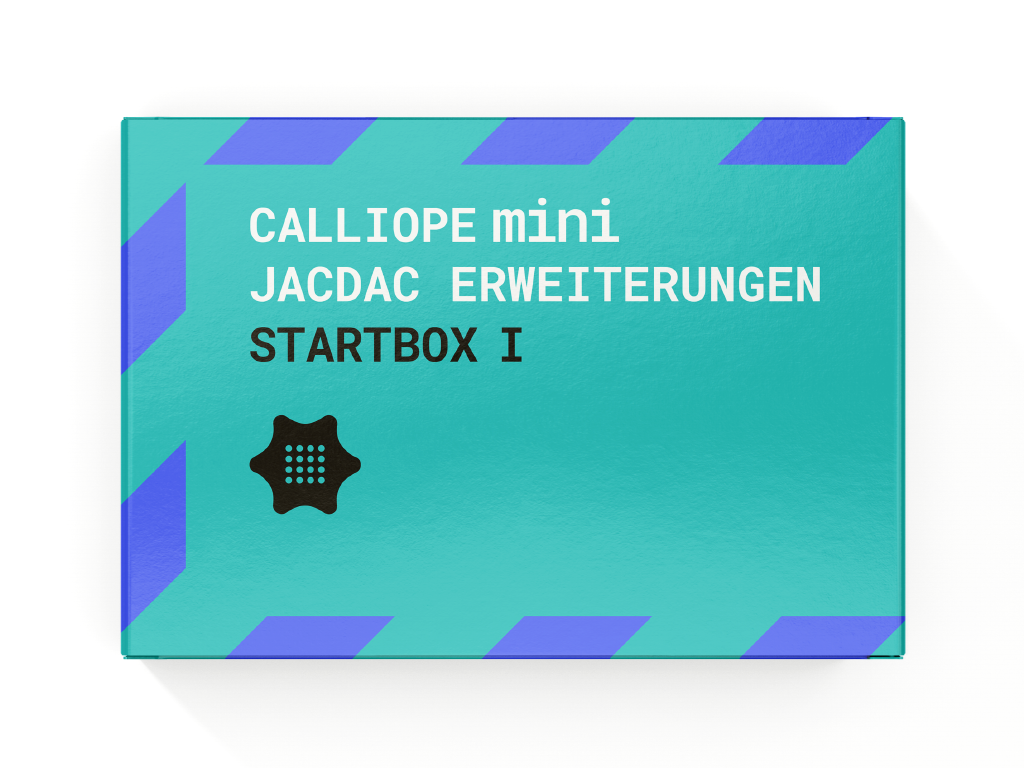
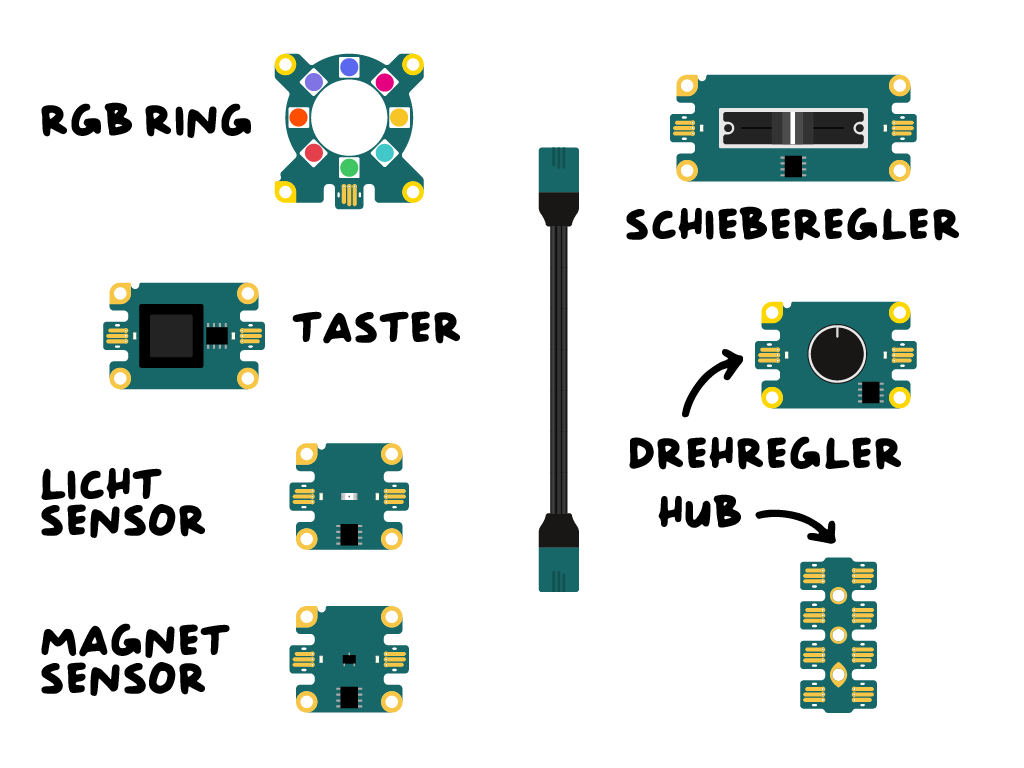
Contents:
1 x Slider
1 x Rotary Button
1 x RGB Ring
2 x Key Cap Buttons
1 x Magnetic Sensor
1 x Hub
1 x Light Sensor
5 x Cables
Jacdac Extensions Starter Box II
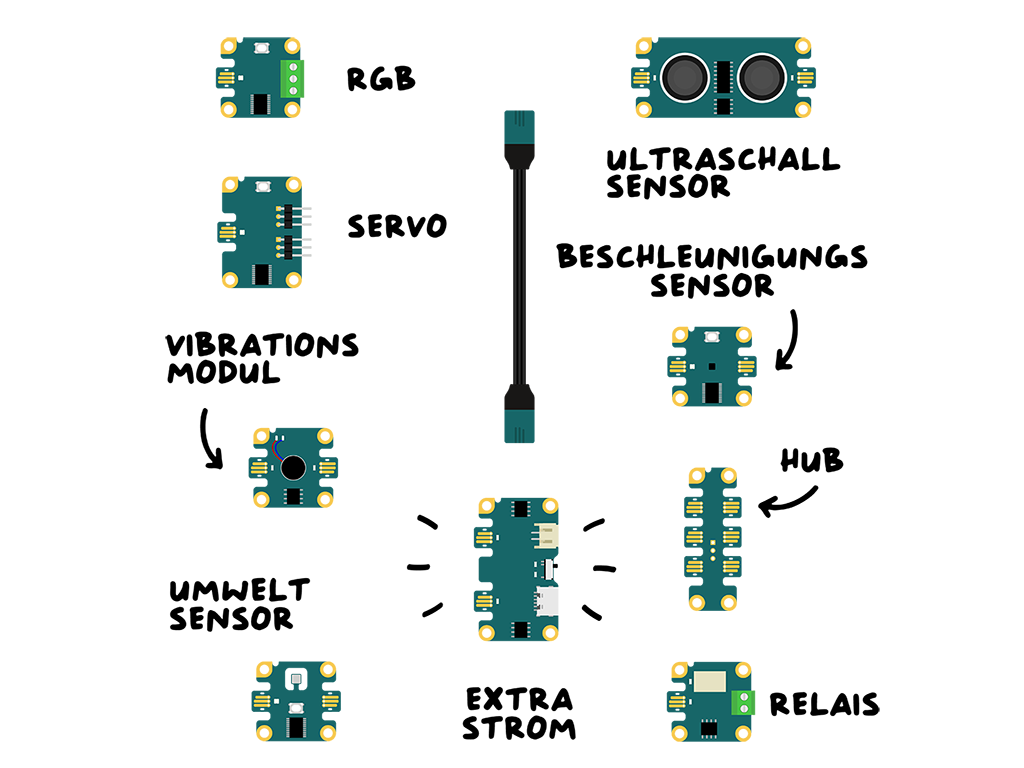
Contents:
1 x Ultrasonic Sensor
1 x Acceleration Sensor
1 x Hub
1 x Relay
1 x Power
1 x Environmental Sensor
1 x Vibration Module
2 x Servo (360°, 180°)
1 x RGB Strip (30 x LED)
5 x Cables
Starter Box I: Slider
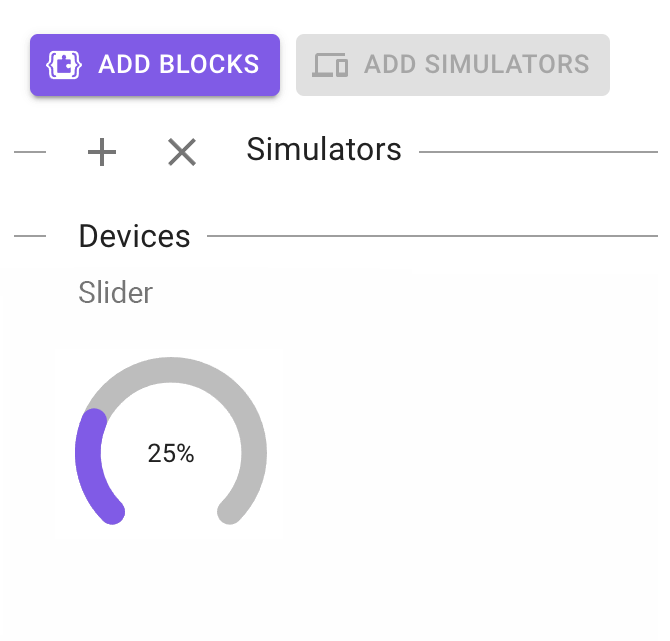 Value Range (%): 0-100 |
Starter Box I: rotary button
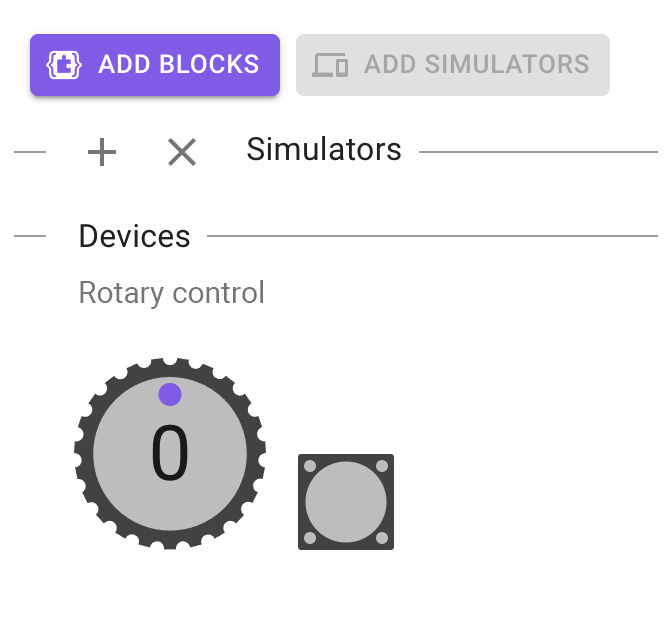 Starting Position: 0 |
Starter Box I: RGB Ring
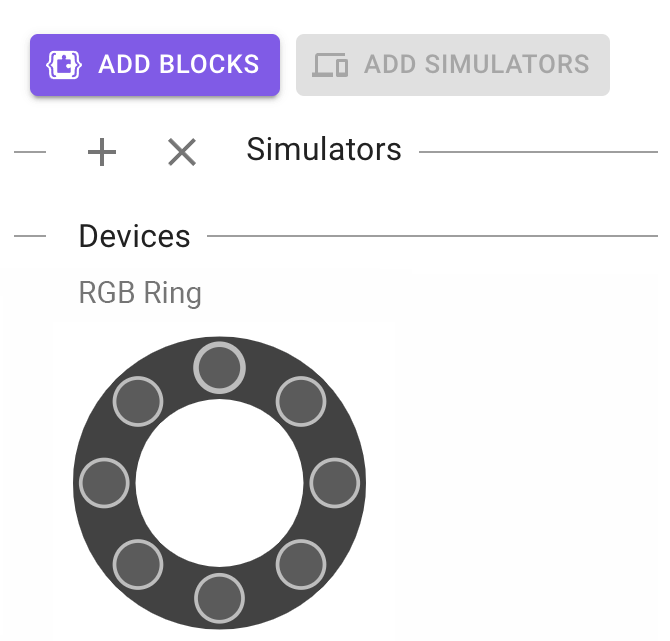 Brightness Range: 0 - 100 For high brightness, we recommend additionally connecting the Power Module. |
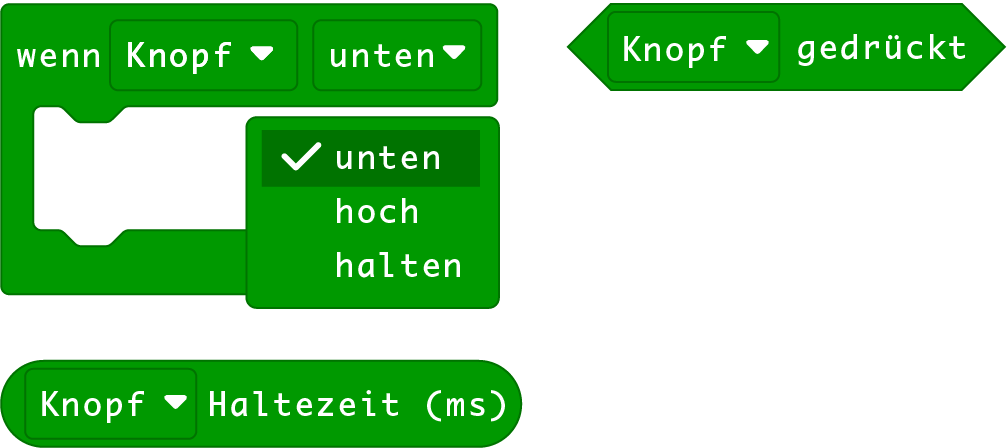
Starter Box I: Key Cap Button
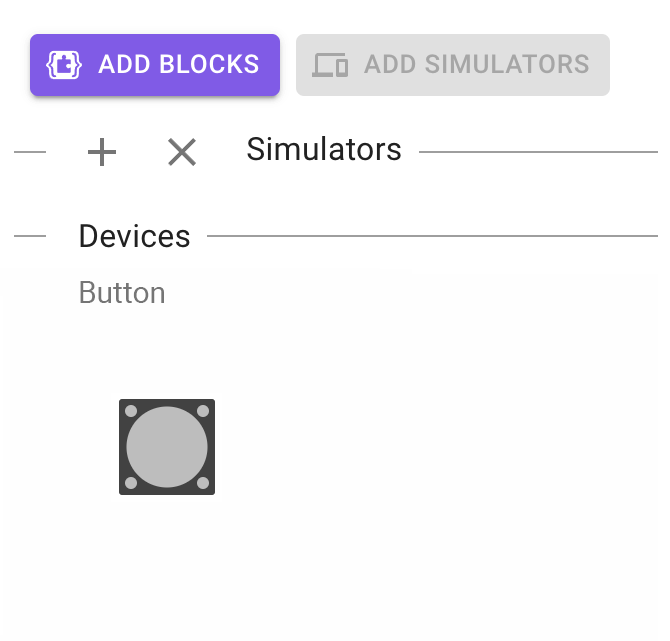 A button can be pressed, held, and released. |
Starter Box I: Magnetic Sensor
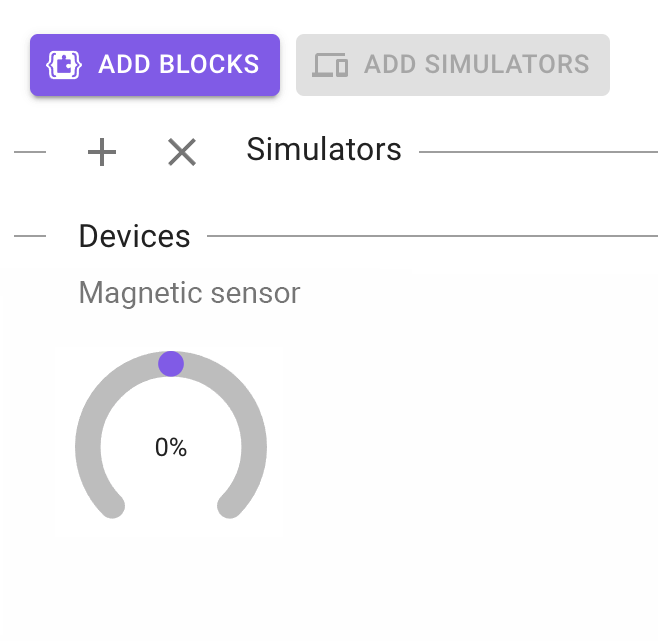 Value Range (%): 0 - 100 |
 The two blocks are event blocks. 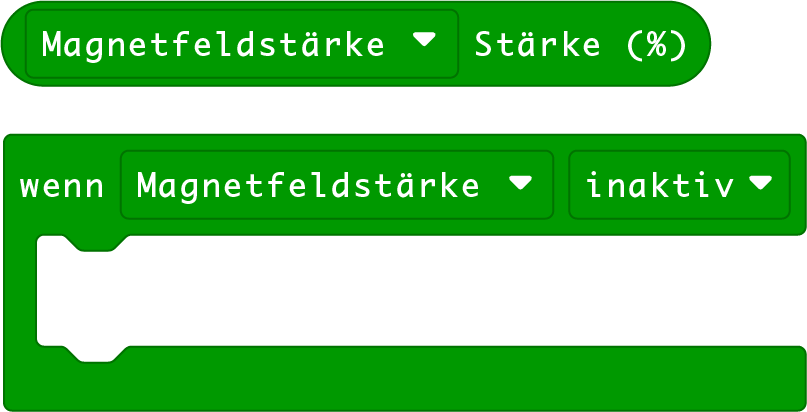 |
Starter Box I: Light Sensor
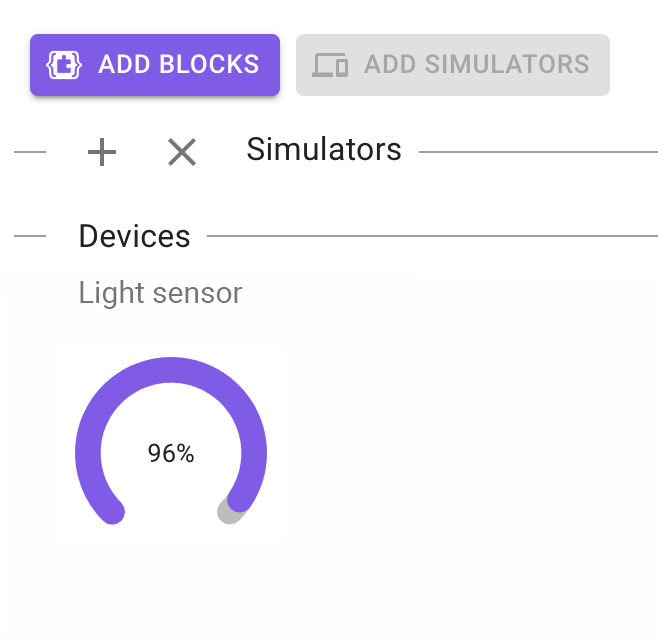 Value Range (%): 0 - 100 |
Starter Box II: Ultrasonic Sensor
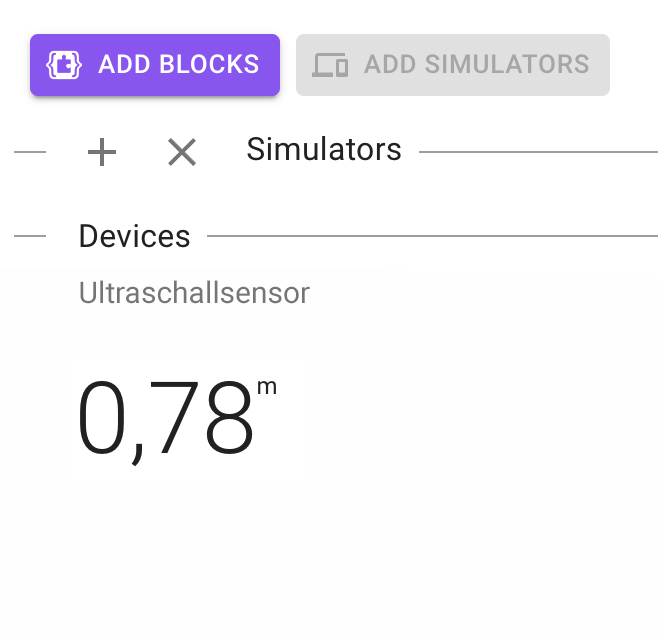 Value Range (Meters): 0 - 3.50m |
Starter Box II: Acceleration Sensor
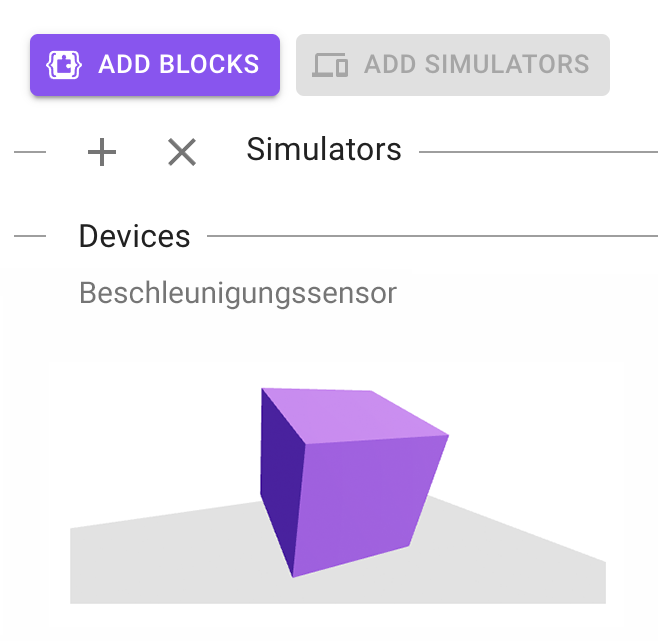 The acceleration sensor can measure acceleration and detect various movements. |
Starter Box II: Relay
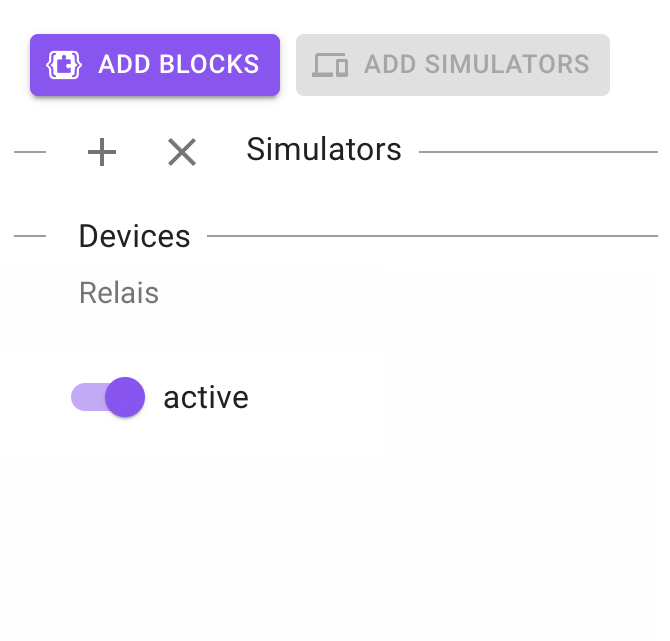 The Jacdac relay is designed for applications with low voltage (max. 5V) and low current (max. 1A). Use the relay only under adult supervision. |
Here's the translation of the text:
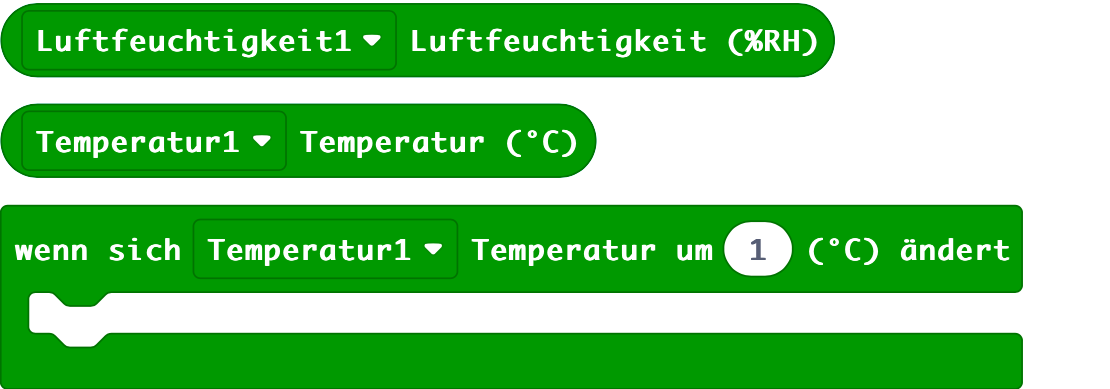
StartBox II: Environmental Sensor
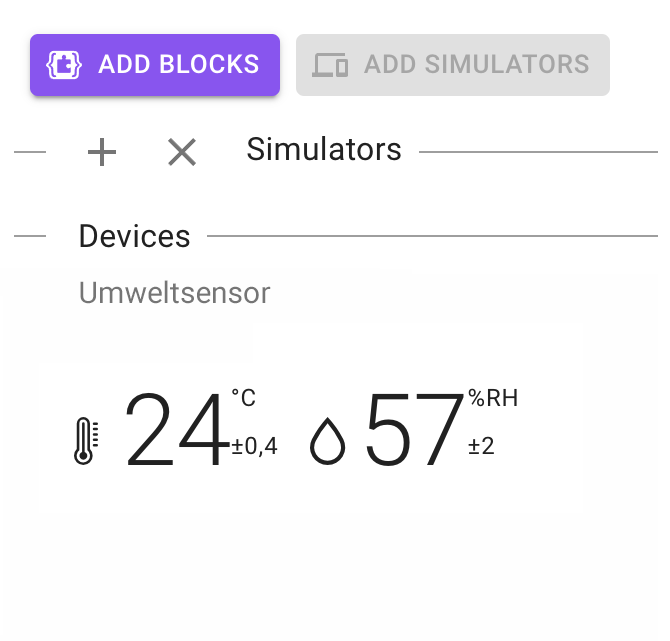 The environmental sensor measures temperature in degrees Celsius and relative humidity (RH) in percent. |
StartBox II: Vibration Motor
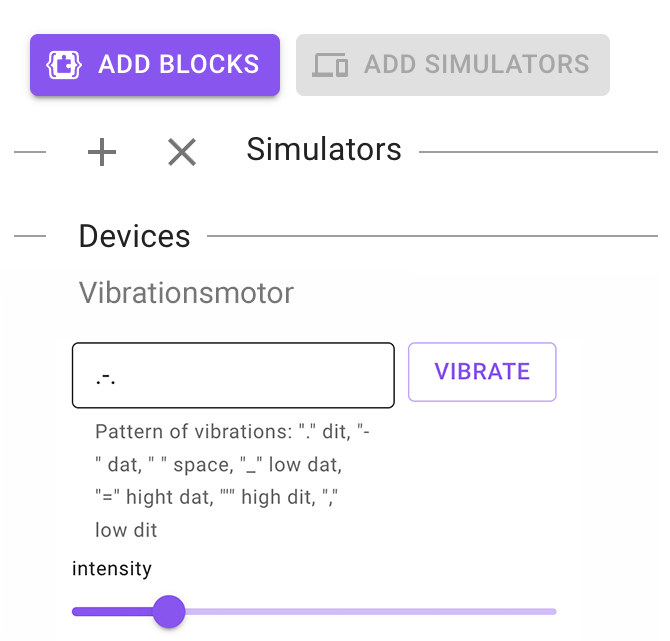 The vibration motor is controlled by various vibration sequences. Try ".", "-" (dash), " " (space), "_" (underscore), "=" (equals), "'" (apostrophe), and "," (comma). The power module is necessary for using the vibration motor. Connect the power module via Jacdac to the Calliope mini and the vibration motor, and plug in another power source (max. 1A) via the USB-C port. |
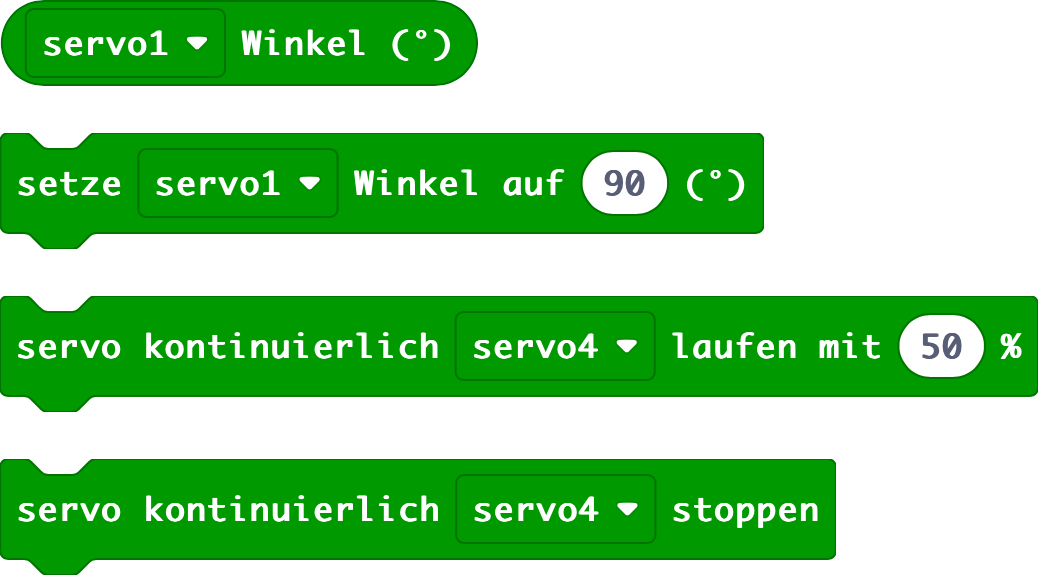
StartBox II: Servo
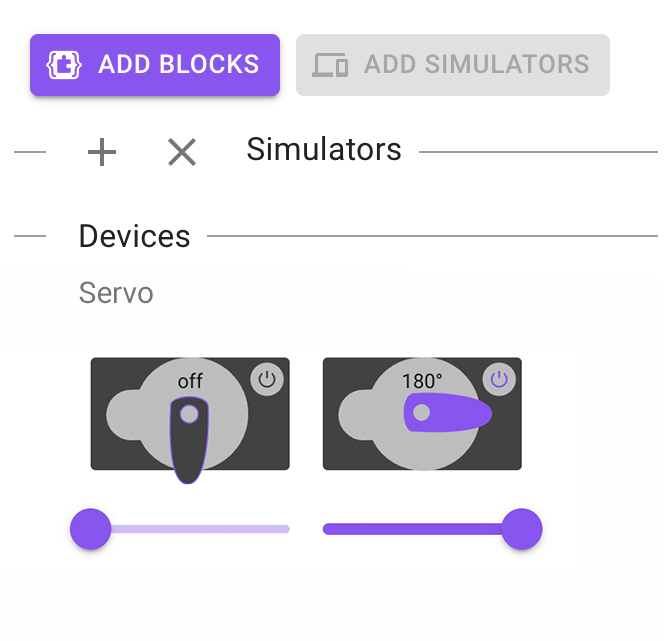 The servo module provides blocks for controlling 180° and 360° (continuous) servomotors. The power module is necessary for using the servo module. Connect the power module via Jacdac to the Calliope mini and the servo module, and plug in another power source (max. 1A) via the USB-C port. |
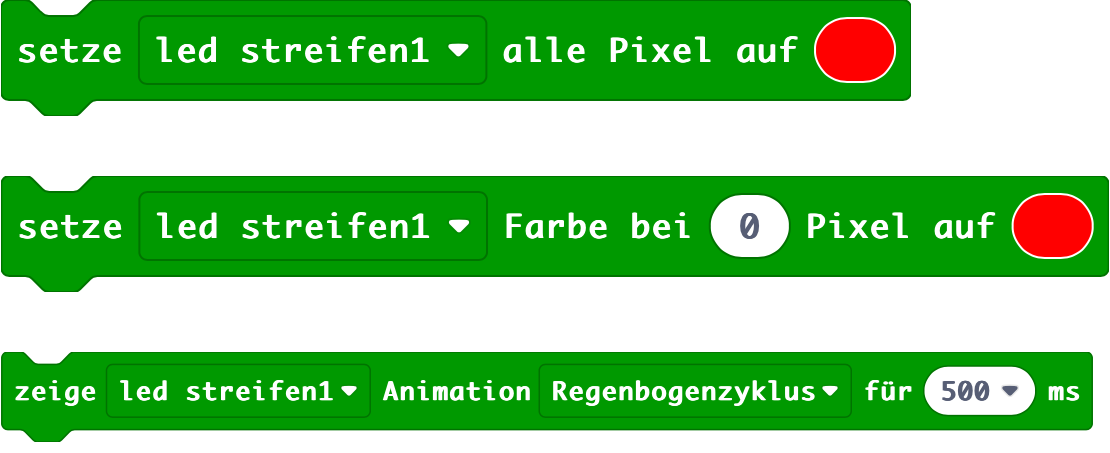
StartBox II: RGB Strip
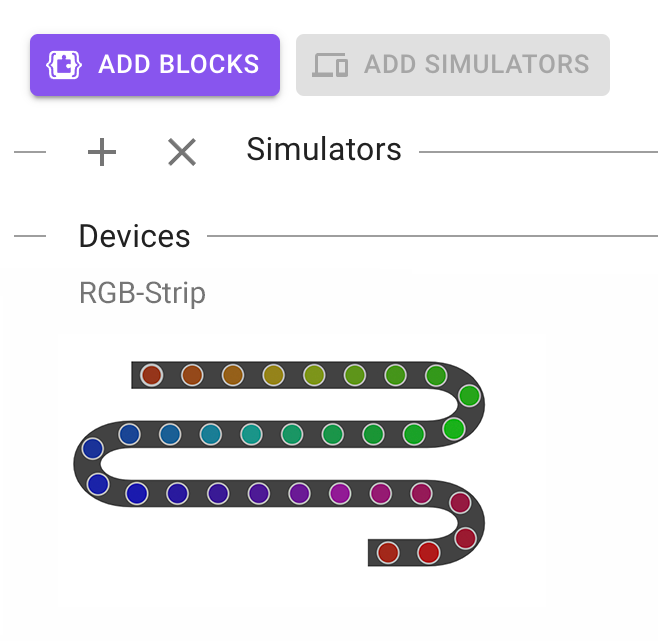 In strong brightness, we recommend additionally connecting the power module. Brightness between 10-20 runs smoothly without the power module. |
For more information: https://microsoft.github.io/jacdac-docs/


